So I bought this Pottery Barn Kids 12 month picture frame off of a Facebook Swap Page for $7. But I didn't realized a few things. First, it had a name pre-printed on it. Secondly, there were some marks on the matting that I didn't see in the post. But I already bought it and didn't want to go through the hassle of either returning it or trying to reselling it. So I had to get my creative juices flowing!
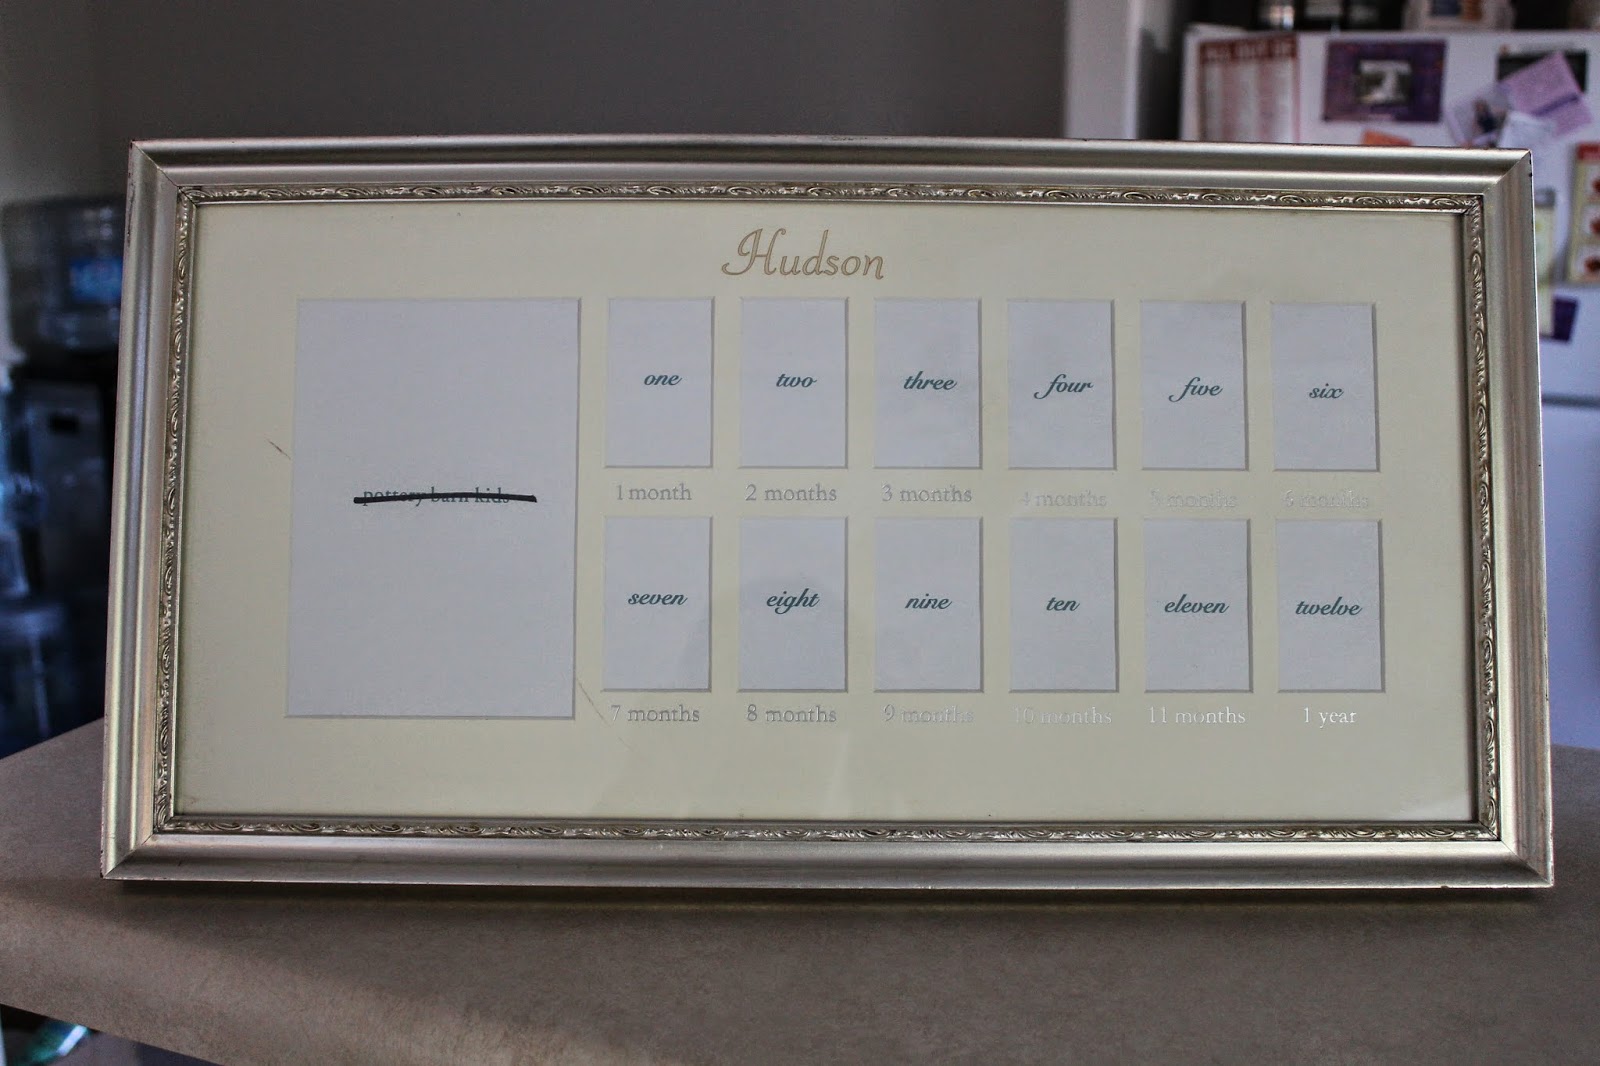 |
| The original frame |
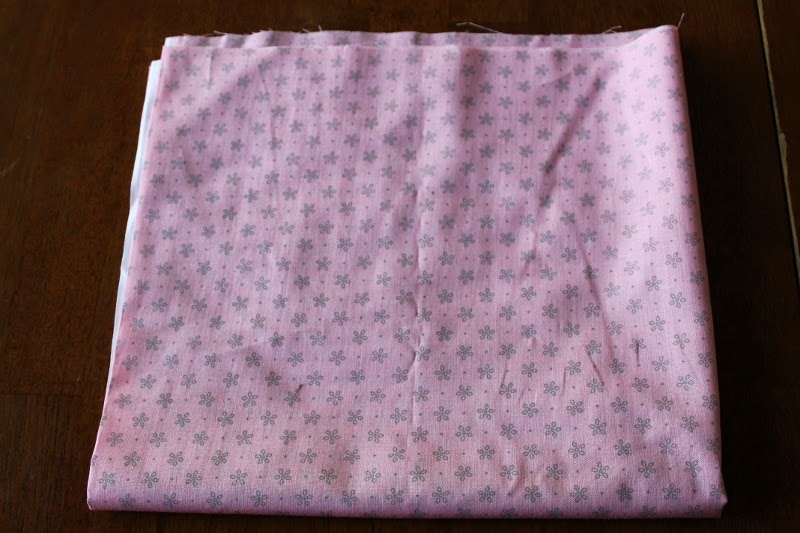
Jo-Ann was having a sale on some fabric and I found a really cute print that would match the color scheme of baby turtle's room. (Pink and grey) I got half a yard for $0.67! What a steal!! I was contemplating just getting a quarter yard, but I figured it would be good to have extra for mistakes. When I got home to measure and check, I found I had enough to cover the mat twice. Perfect! And I already have an idea set in mind for the extra fabric...if I don't mess up the first time :)
.jpg) |
| The fabric is a light pink with grey flowers |
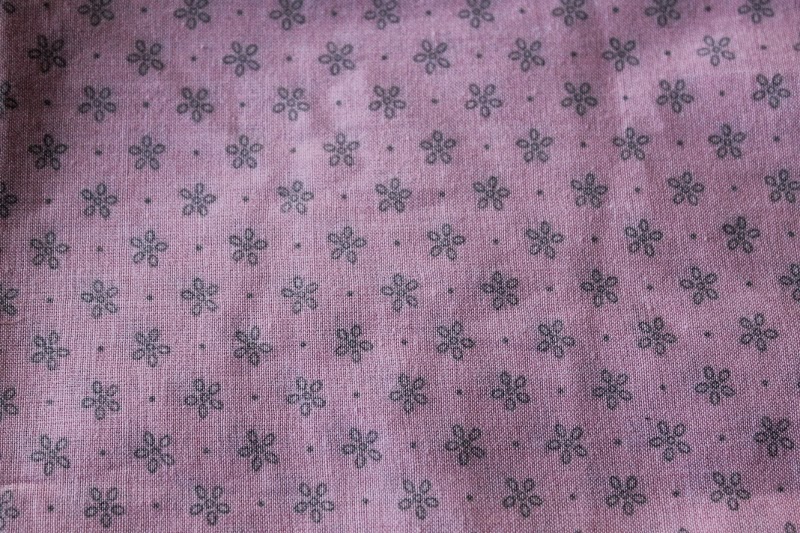 |
| Close up of the print |
So the other materials I used for this project are:
* Scissors
* Pencil
* Scotch Tape
Steps:
1. Lay the mat on the fabric, face down. (Optional, you could iron the fabric before starting. I kinda forgot to until it was too late)
2. Cut around the mat, giving yourself about 1 inch of excess fabric. This doesn't have to be an exact measurement, it's all going to get tucked away and hidden from view. You just want enough to be able to fold over the mat and secure down.
3. Using a pencil, trace the mat onto the fabric. You could also use a pen or marker, but make sure that it doesn't bleed though the fabric. All the pens and markers I had bled though, so I resorted to the trusty pencil.
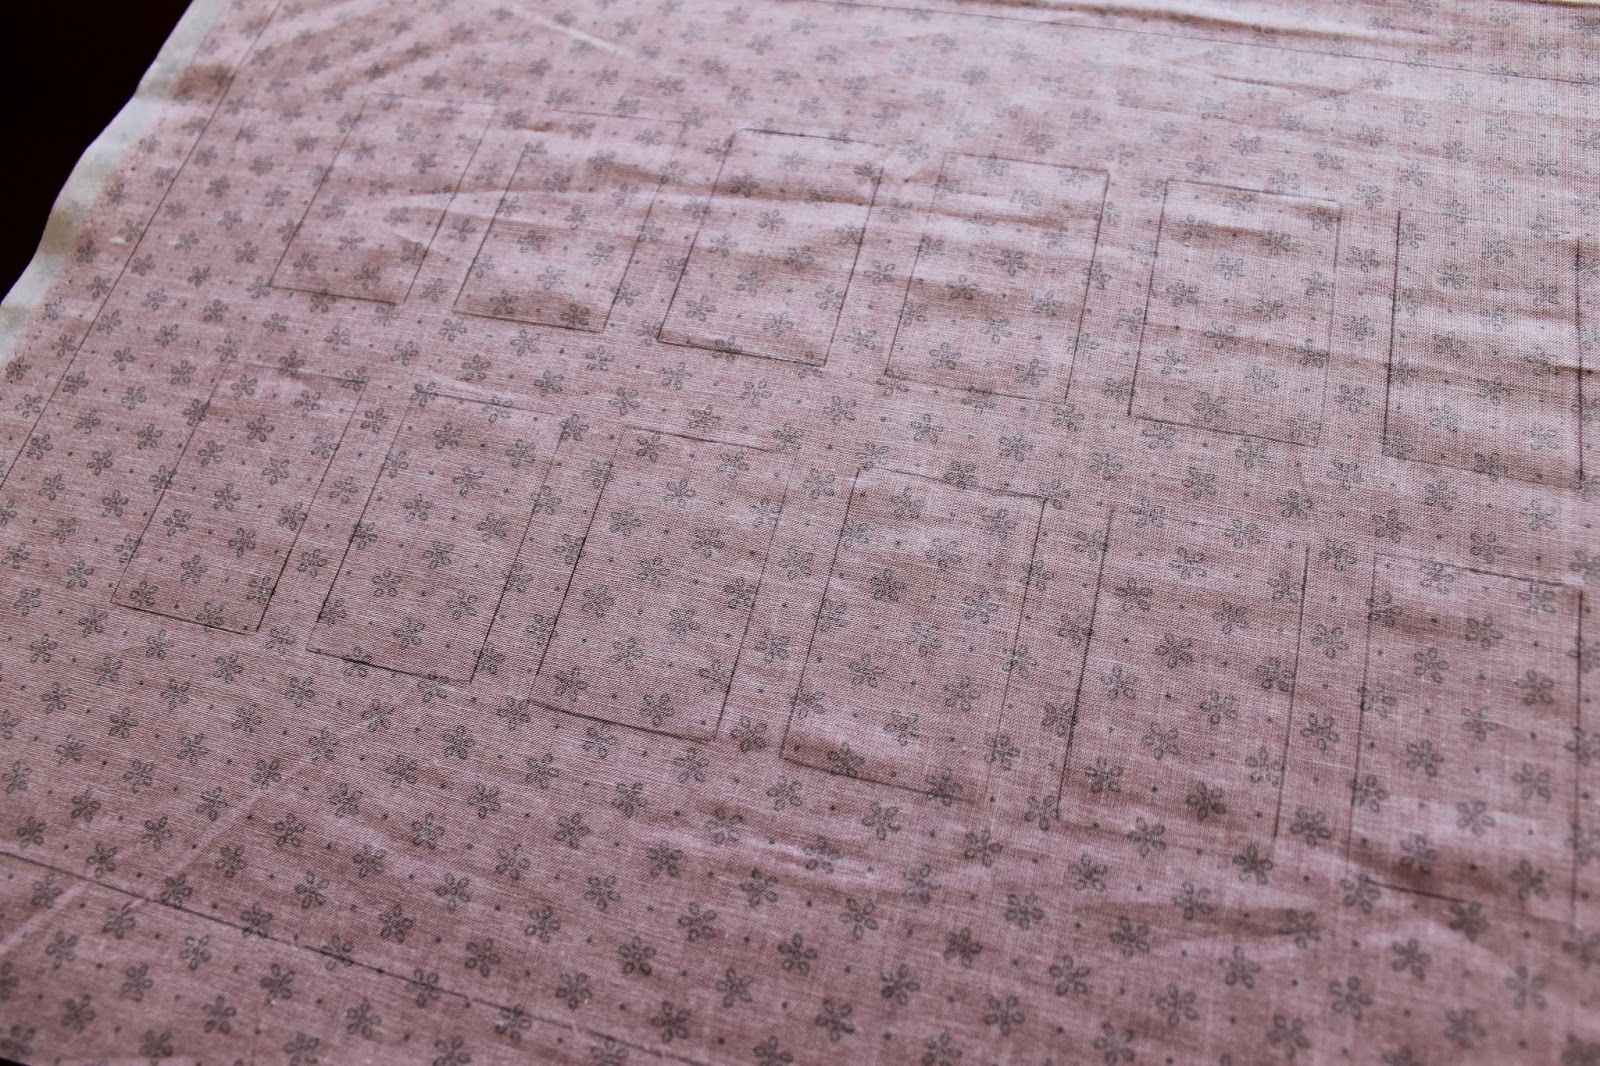 |
| You can barely see it, but there are penciled in squares! |
4. From the corner, cut to the corner of the traced mat outline.
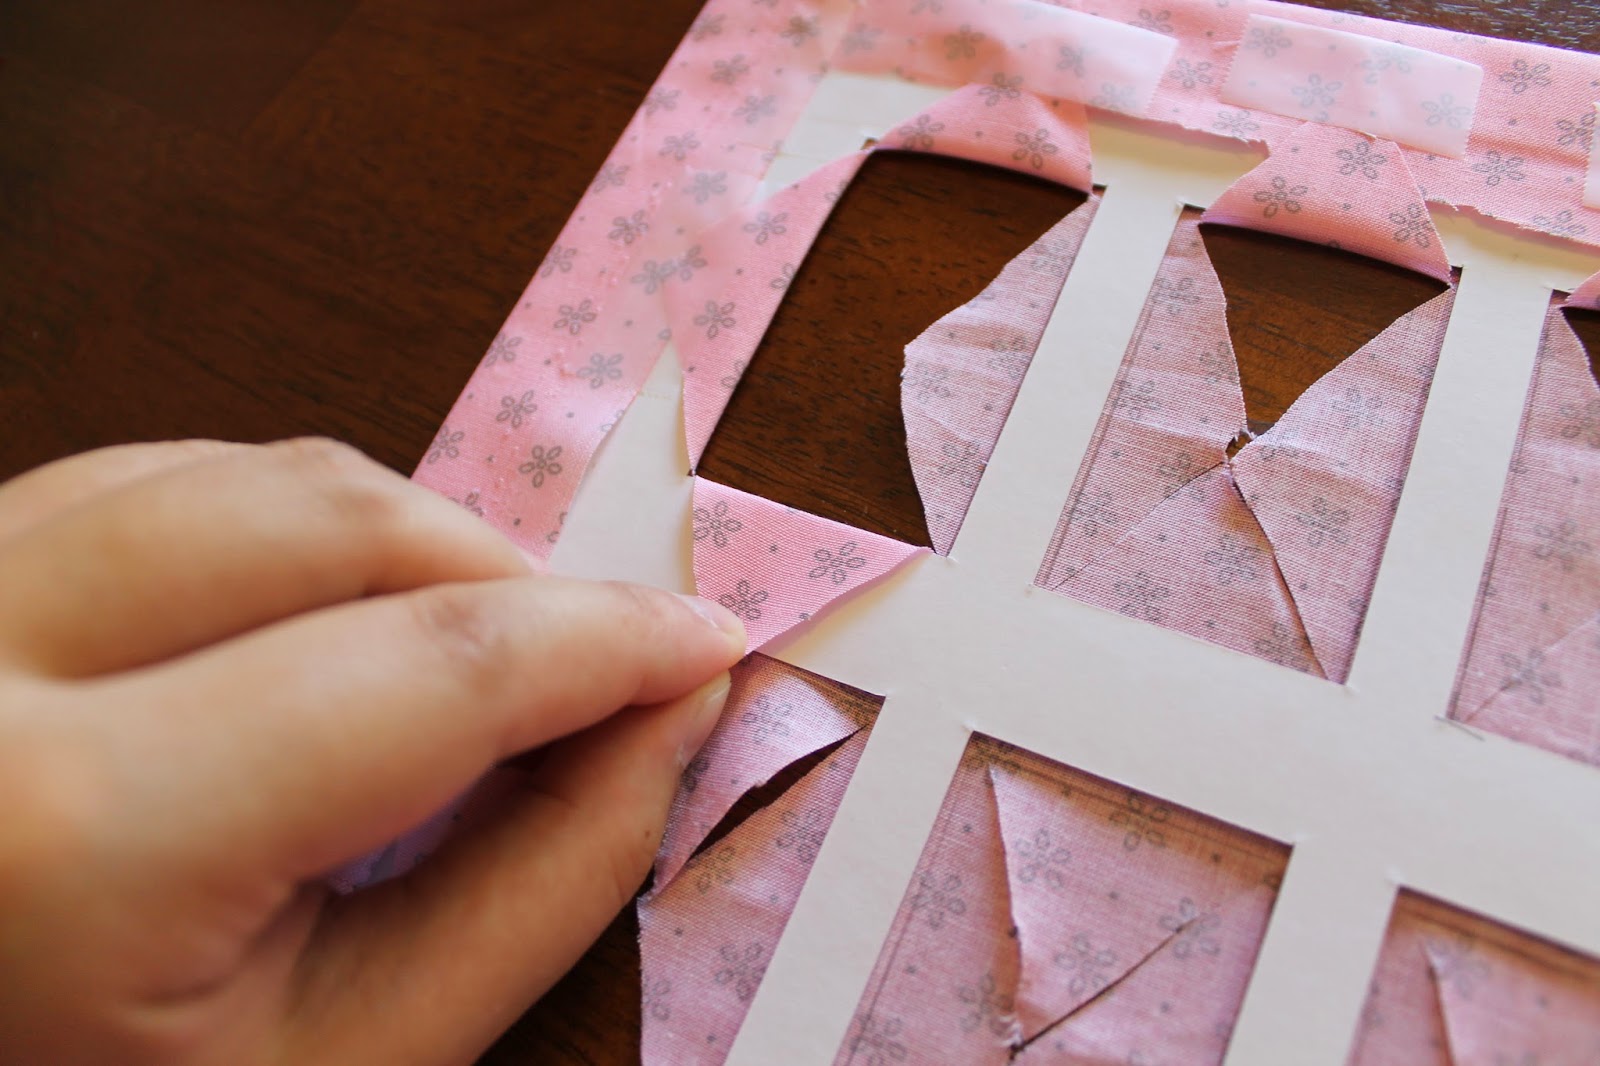
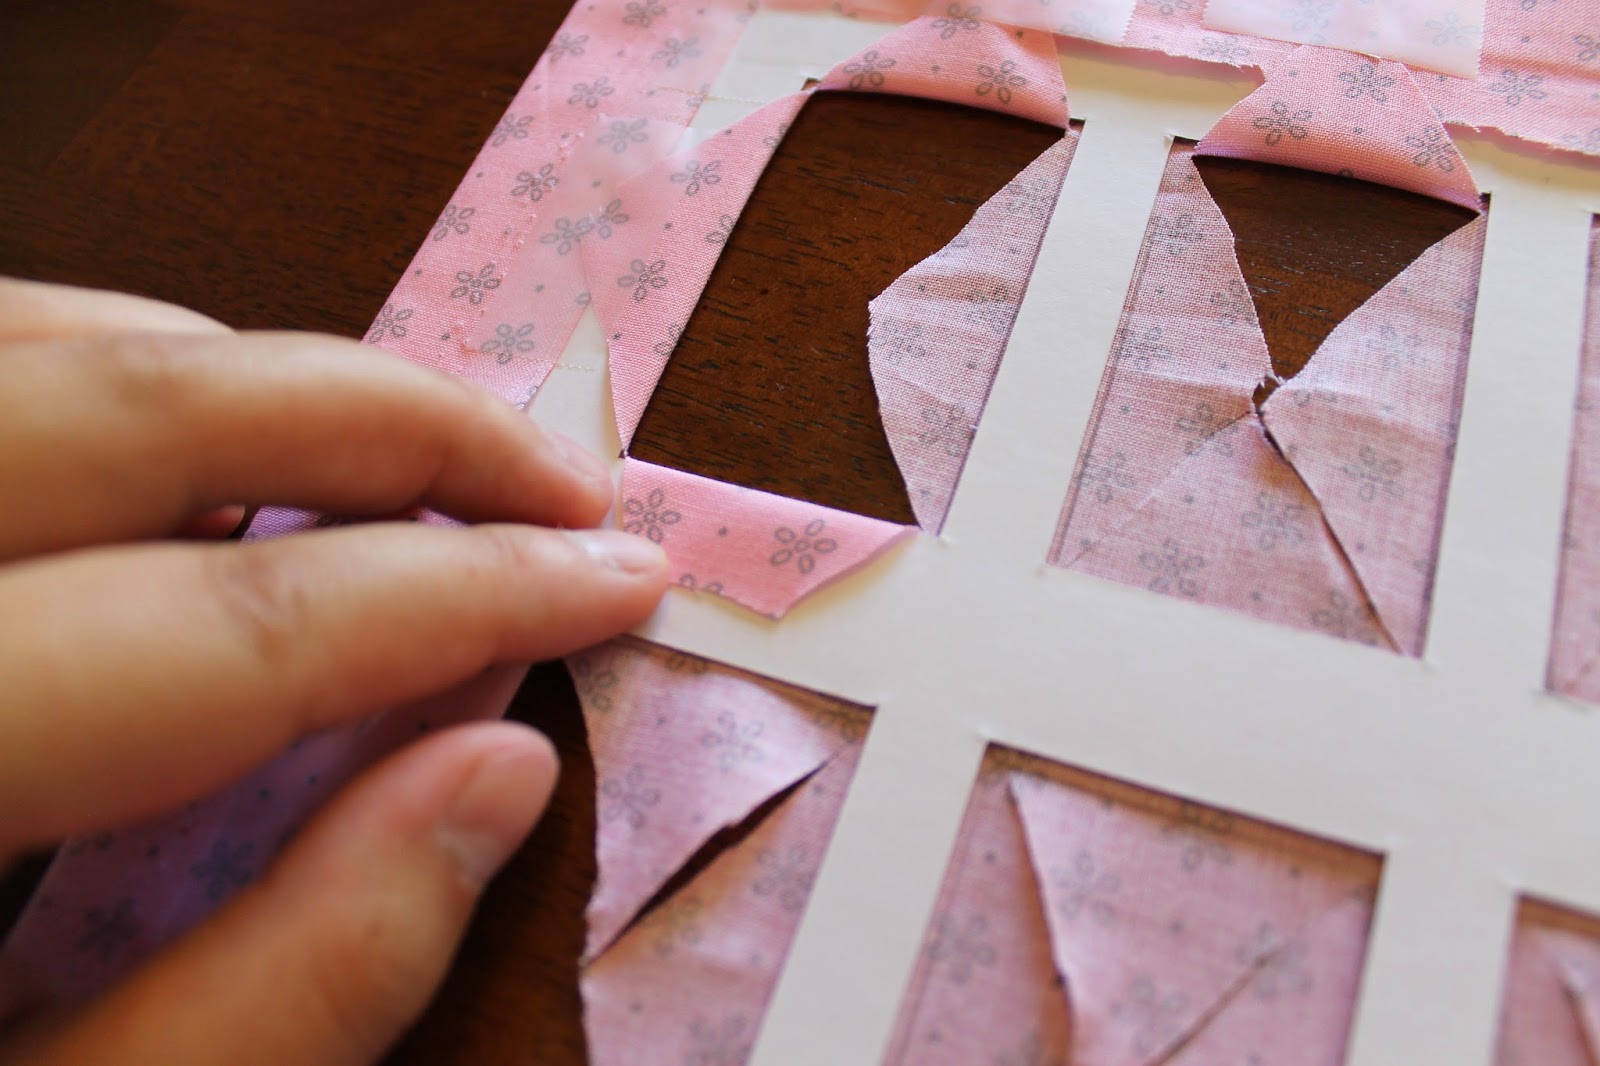
5. The next few steps are going to be fun 3:) First, cut an "X" from corner to corner of the largest traced square. I did this by snipping a random cut in the middle and working outwards from there. Try not to go past the corners marked if you can't avoid it. Repeat this for all the little squares. Remember, patience!
 |
| The biggest square is always the easiest |
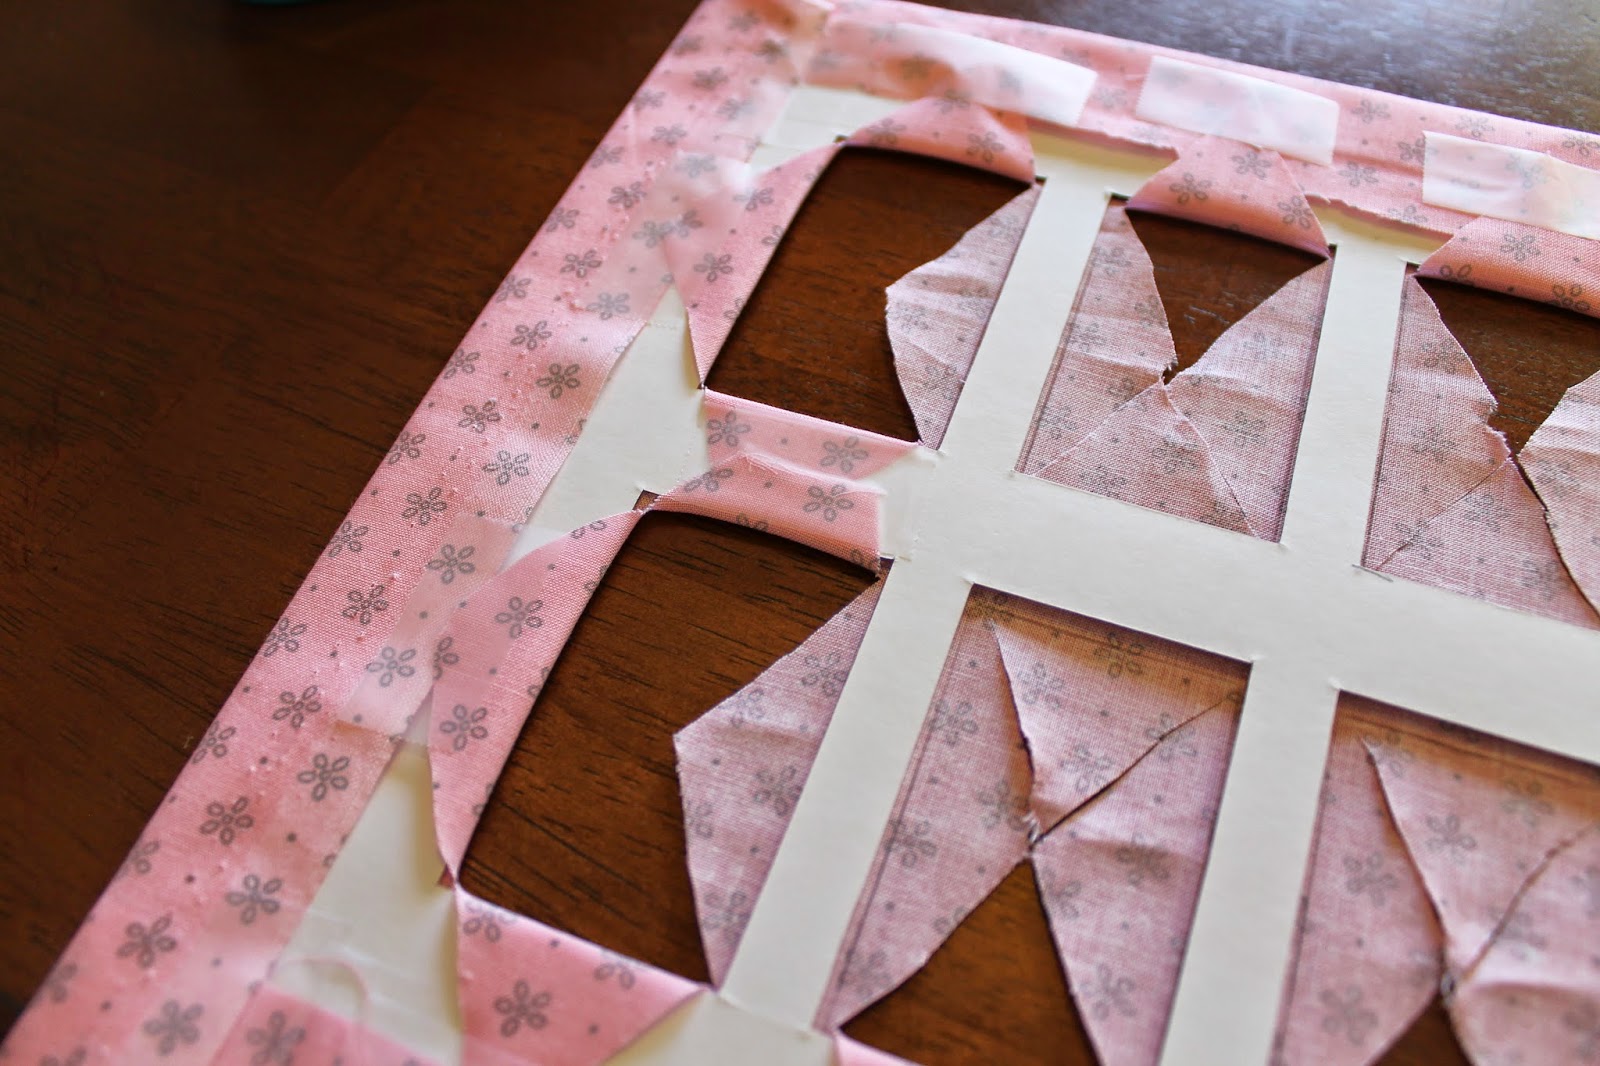
6. Lay the mat on the fabric, lining up the traced lines as close as possible. Start by folding in the outer edges and securing them with tape. For the short ends, this is what I did:
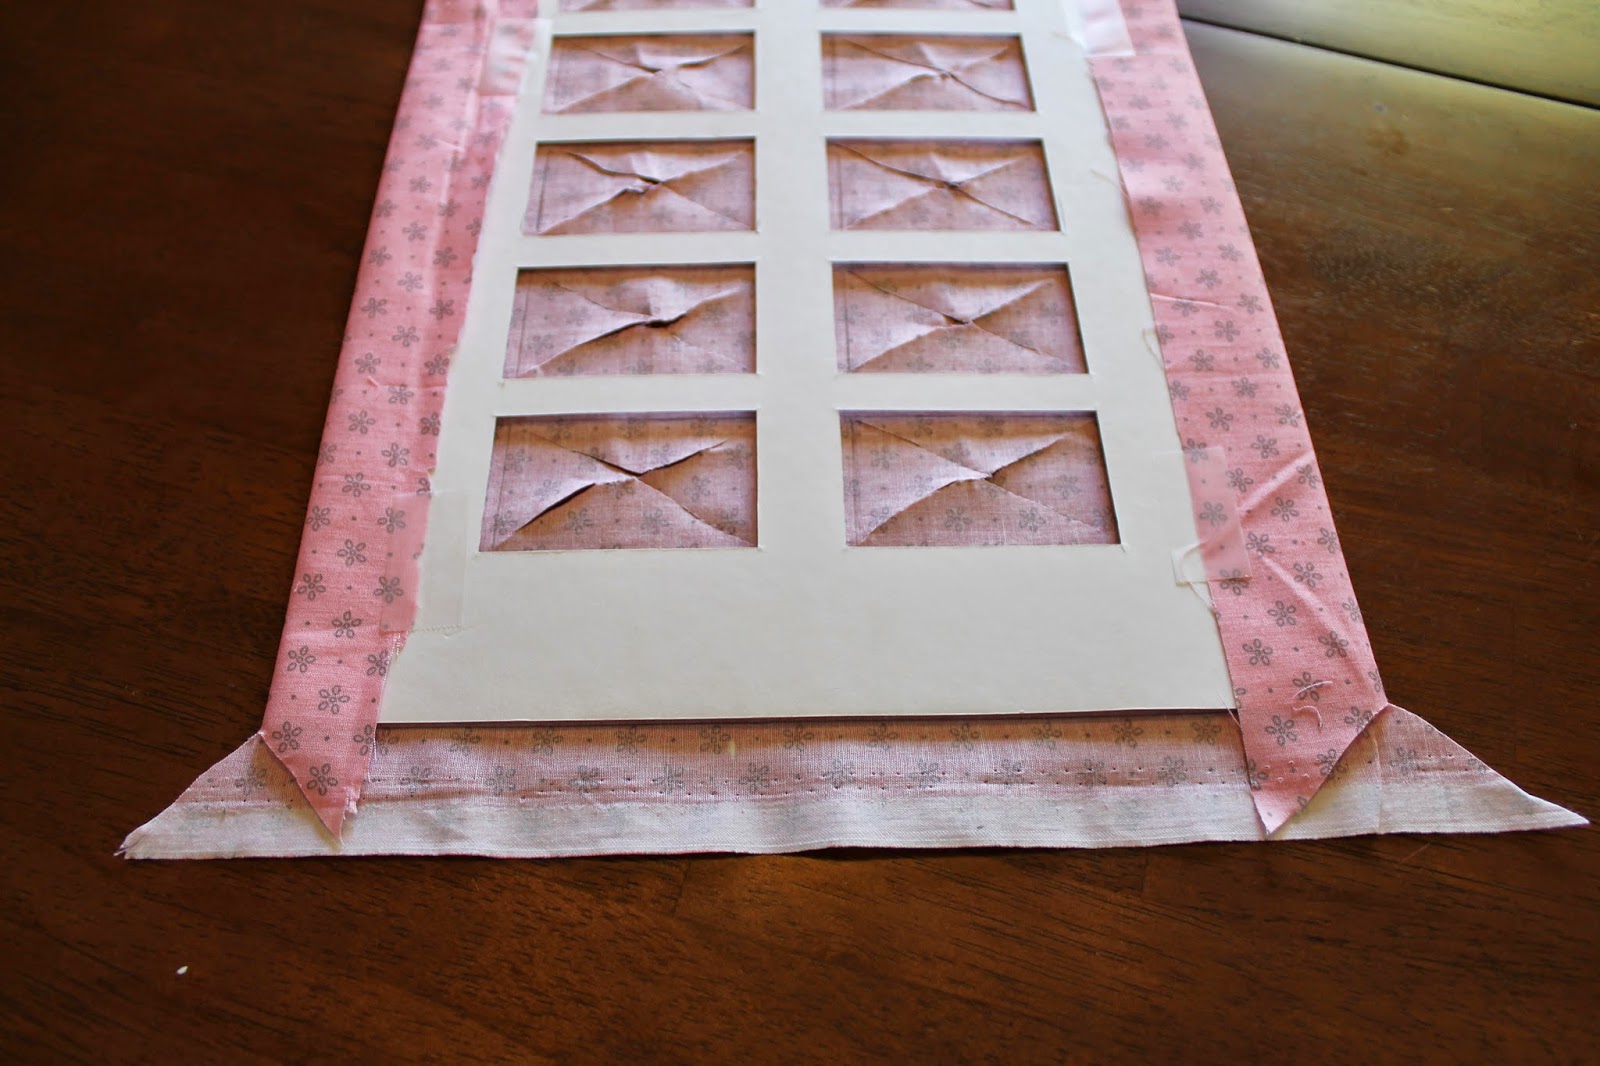 |
| Long sides are folded over and secured. |
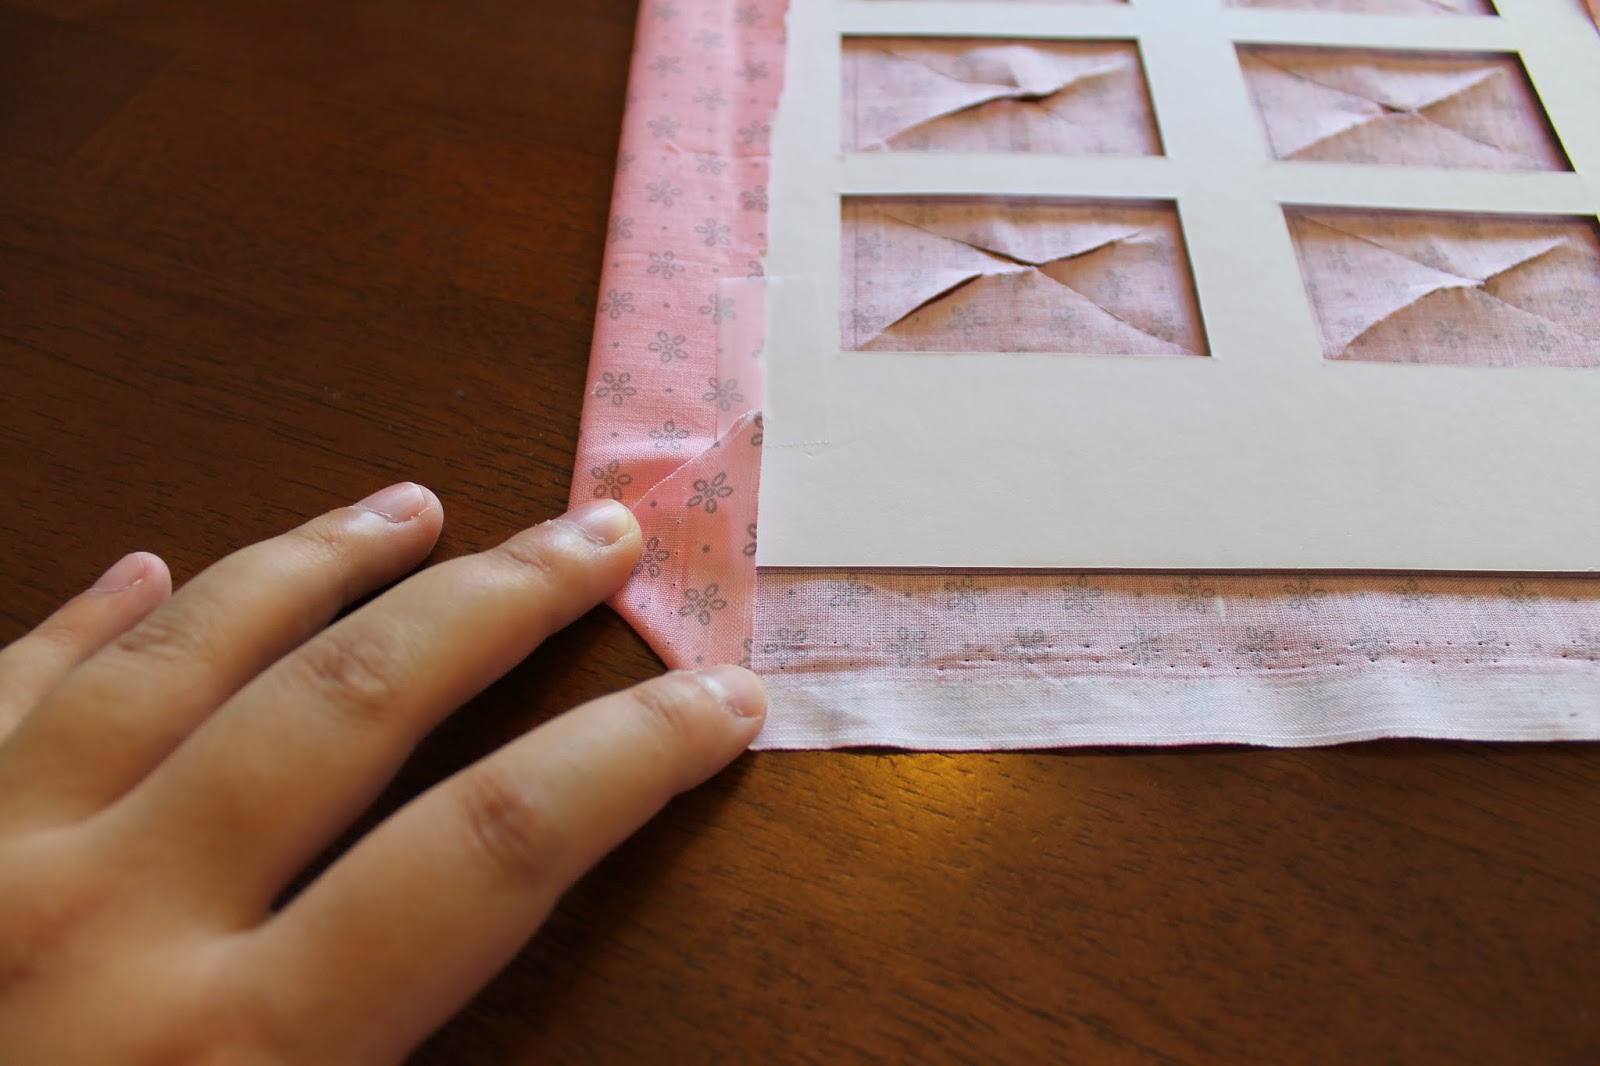 |
| Take the corner that's sticking out and fold it inwards. |
 |
| Fold over the entire edge and secure with tape. |
 |
| All outer edges secured! |
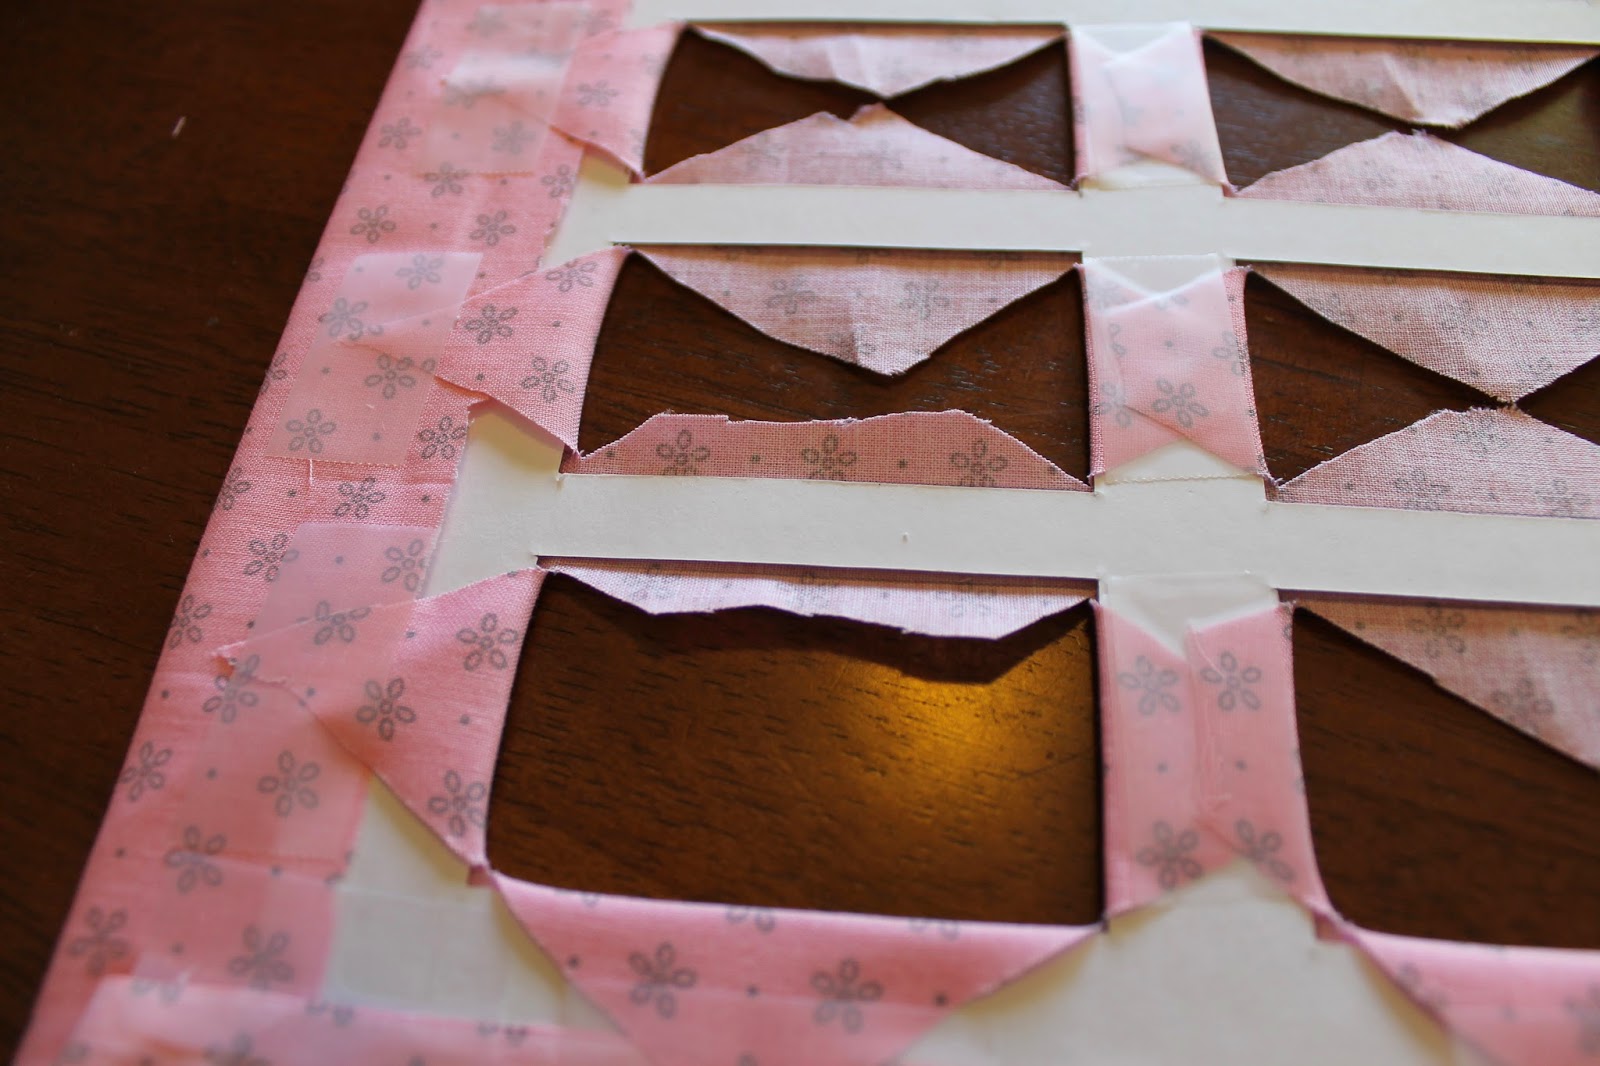
7. Next step is to tackle the individual squares. My method of attack was to fold over the triangles that would fit into the frame without cutting. For the big square, I just folded the triangle in. I just taped the triangles down.
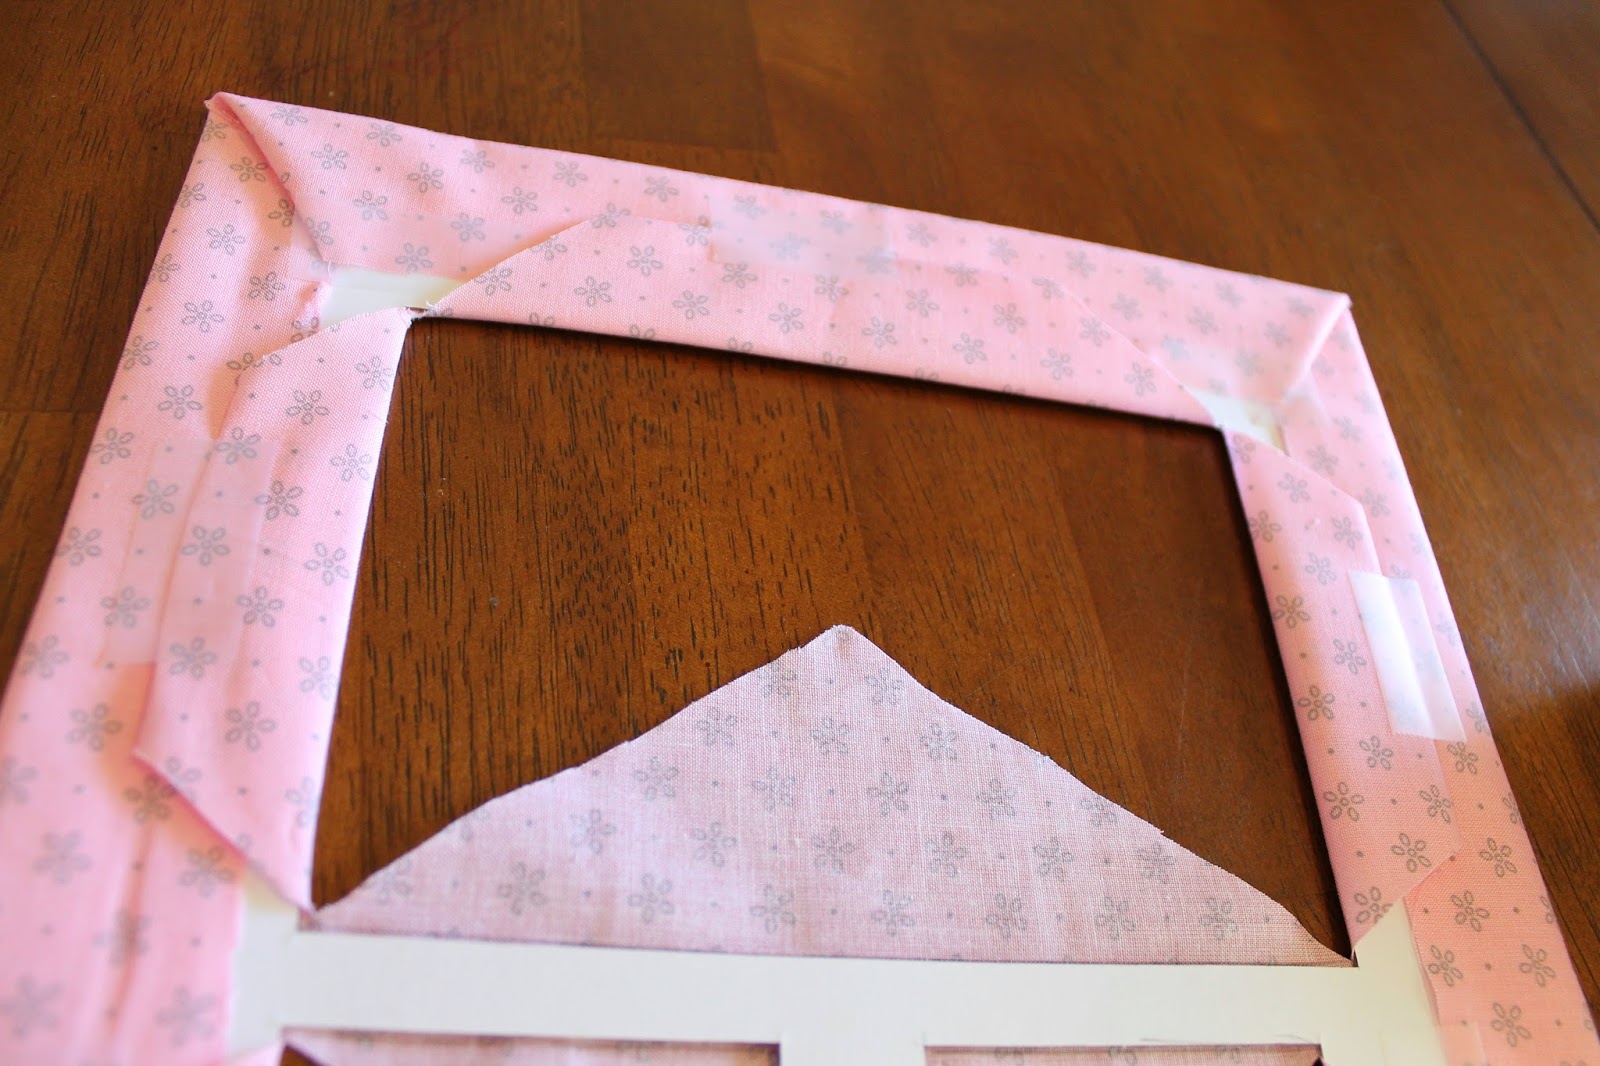 |
| I folded the triangles since there was room to fold/tape them. |
 |
| The perimeter is secured! |
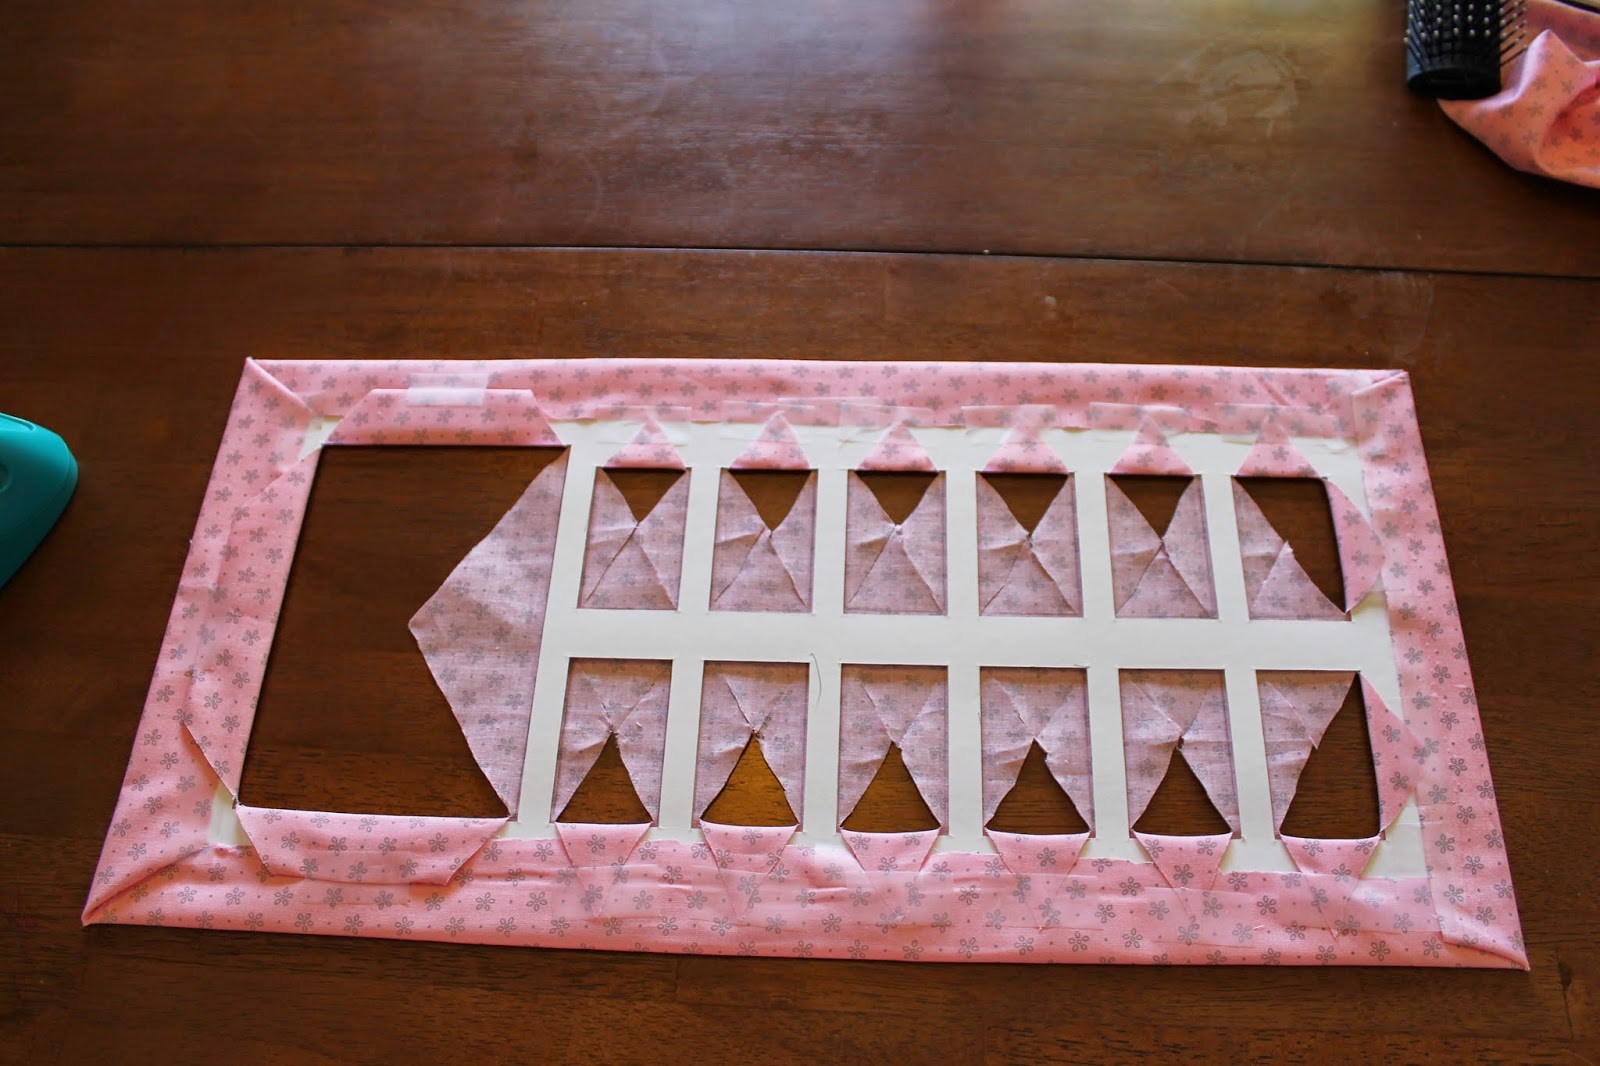
8. The next part is time consuming, you have been forewarned!! Fold over the triangles and cut off the portions that hang over. Erg, this is better seen than said. Pictures!
 |
| Fold over the triangles |
 |
| Snip the part that hangs over. Leave enough to secure down with tape! |
 |
Do it to both sides and tape down.
Make sure the tape doesn't hang over into the actual frame.
You'll be able to see it from the outside. |
 |
| Repeat for all sides. |
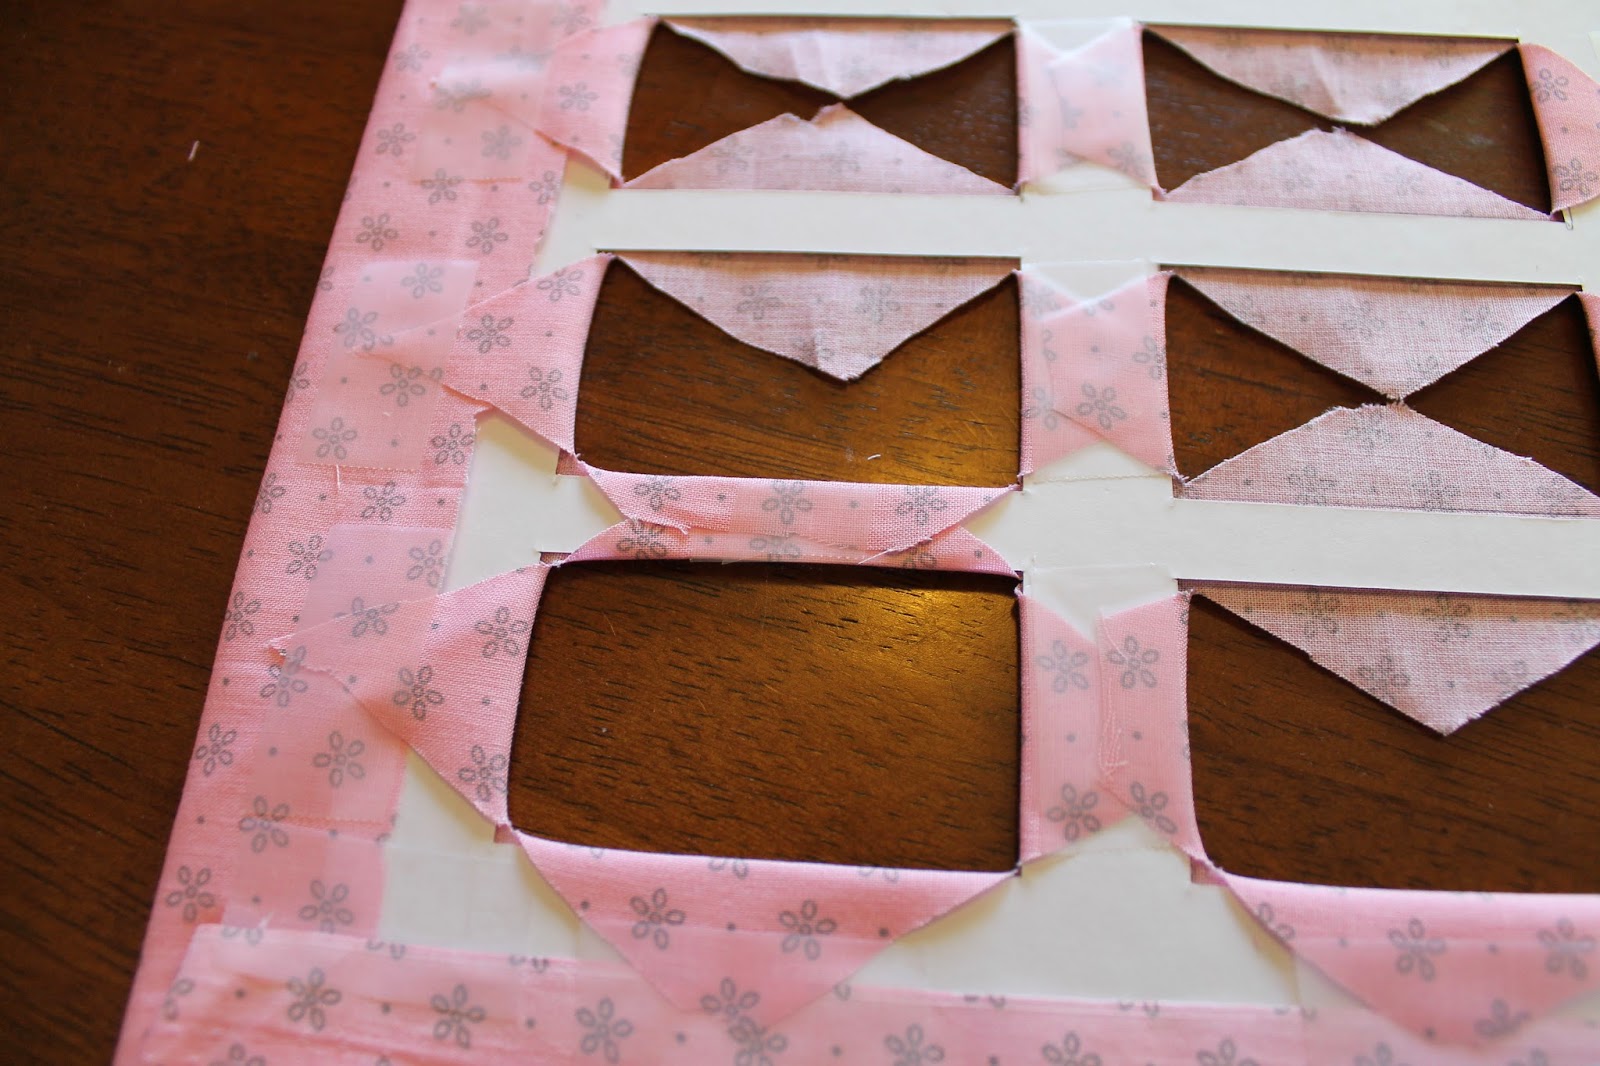 |
| One square down! 11 more to go~! |
9. The finished taped down product!!
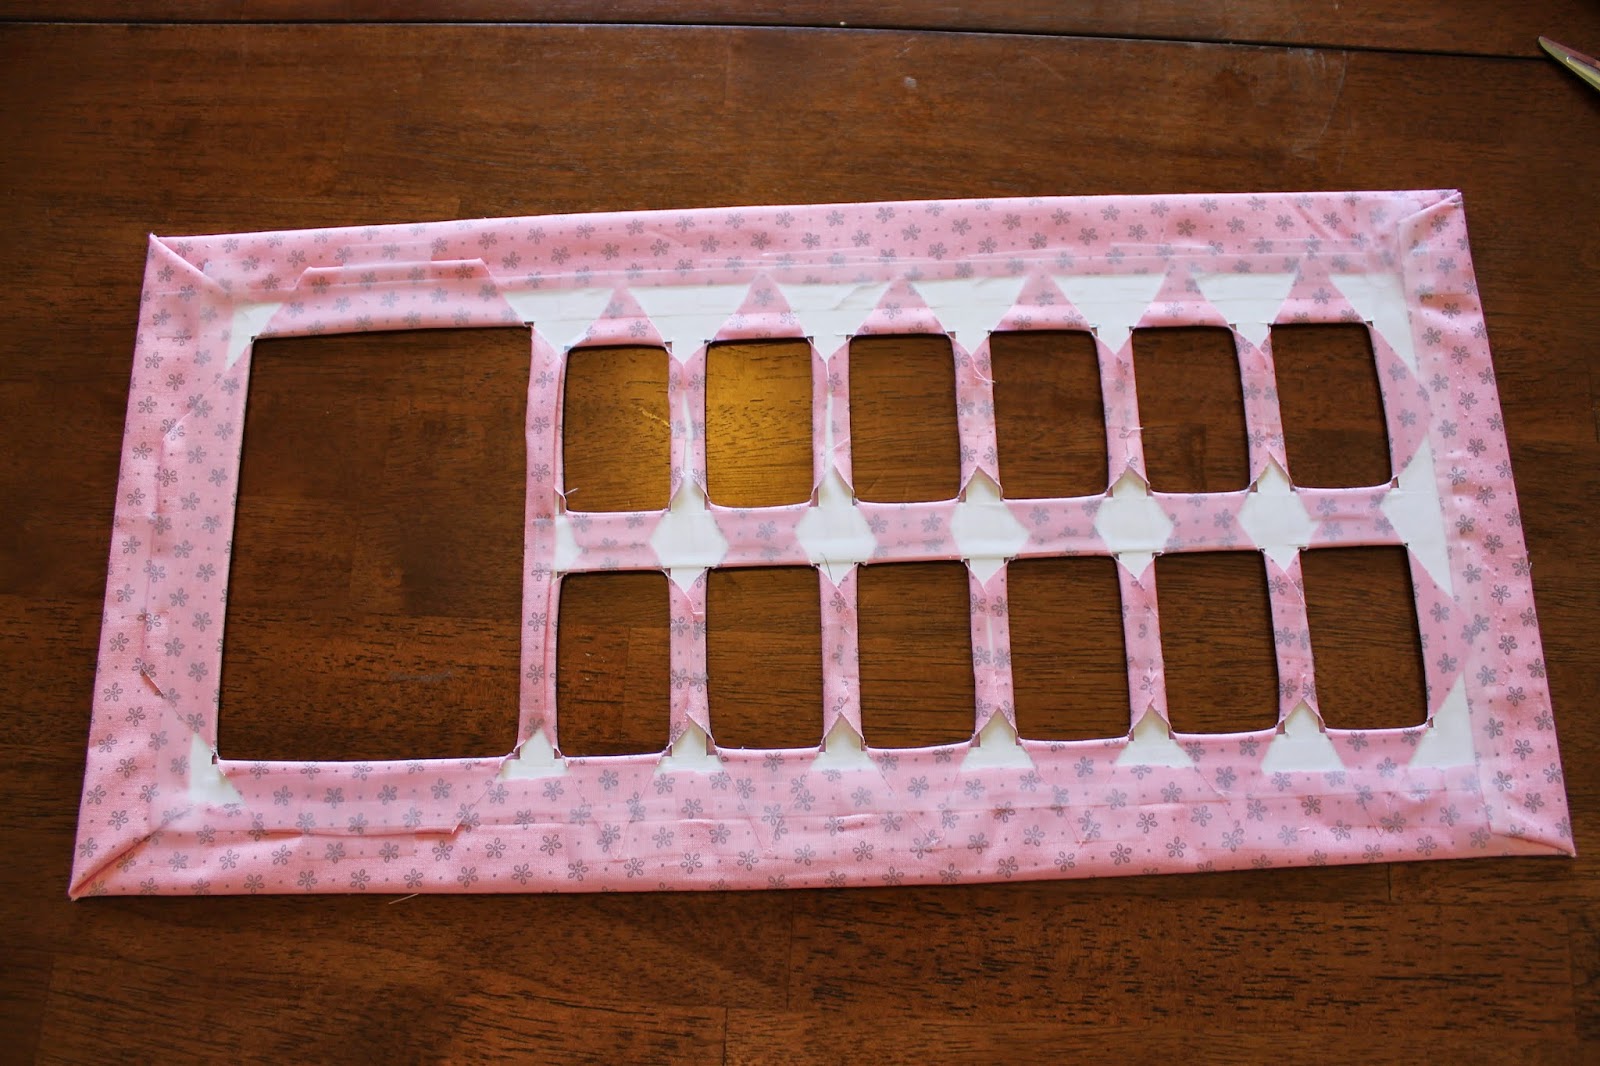 |
| I ended up adding extra long strips of tape for some extra security. |
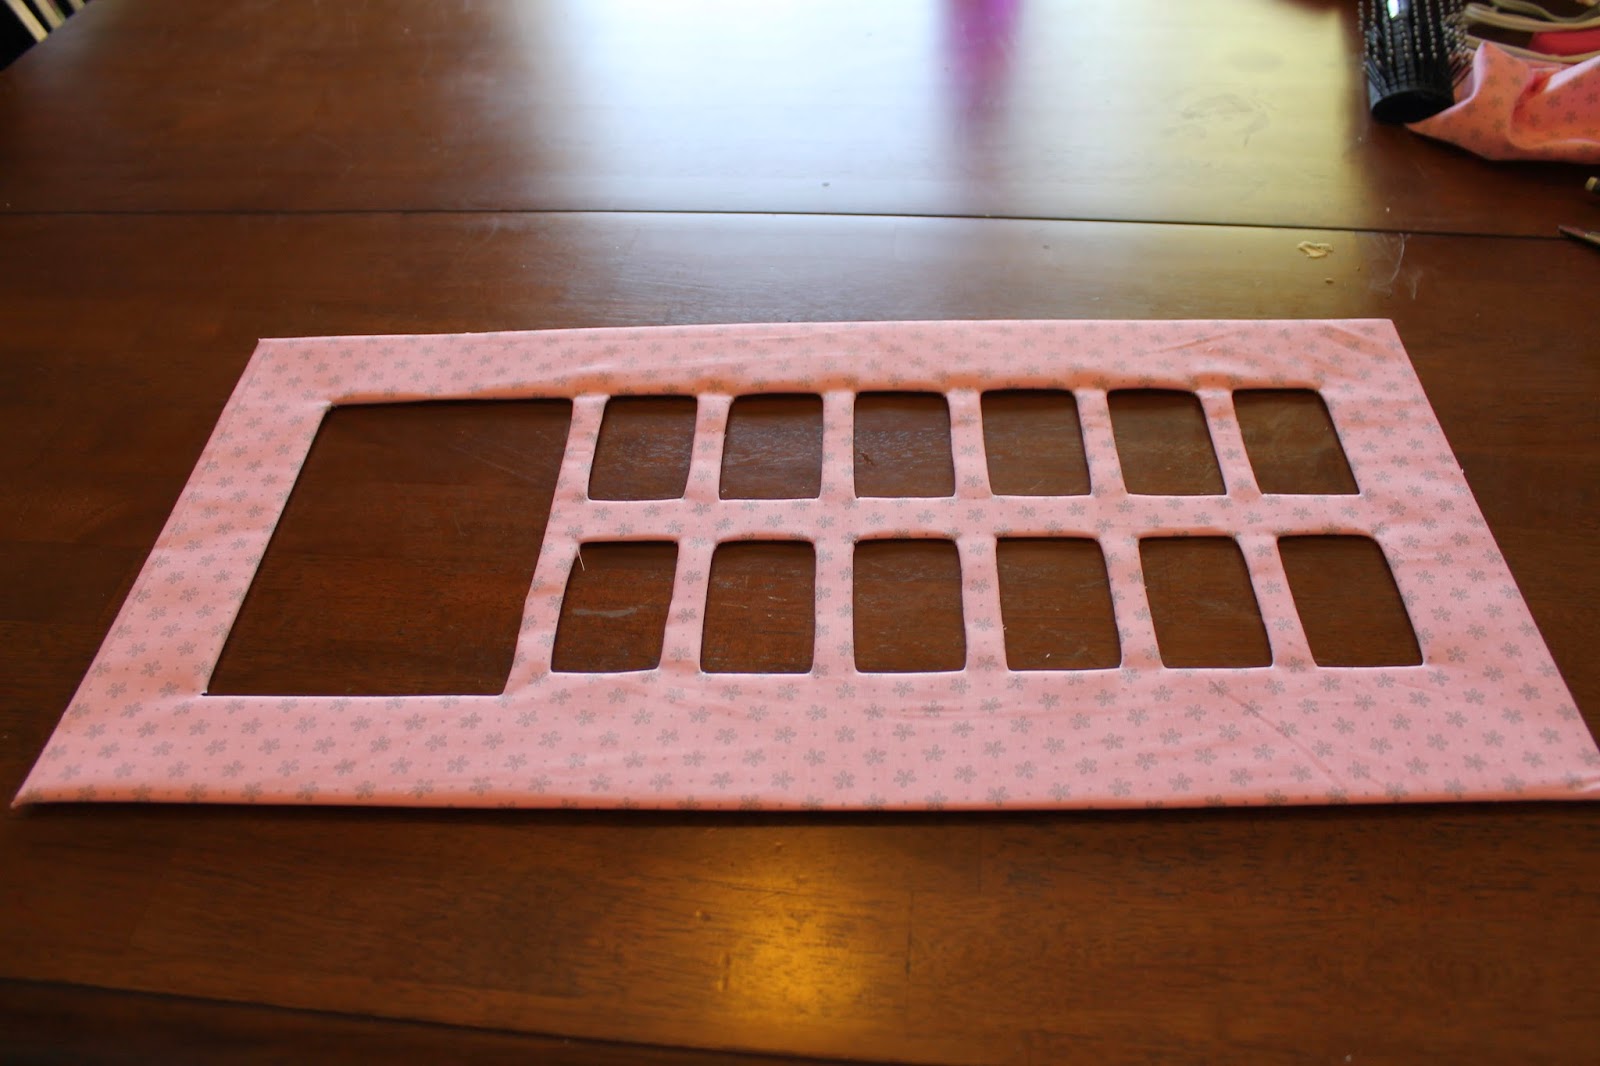 |
| The mat is now customized and adorable! |
10. Put the covered mat into the frame! Now baby needs to pop so I can start putting in pictures!
.jpg)


No comments:
Post a Comment